DIYRE
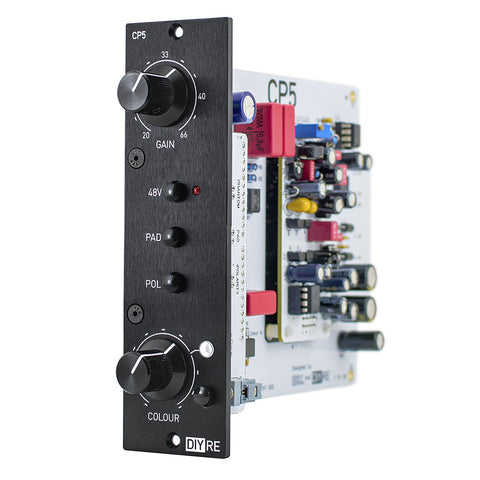
OLA5 Opto Compressor (Discontinued)
Classic opto leveling with new features and your choice of Modern or Vintage signal path.
Classic Opto Leveling, Upgraded Signal Path. The Urei LA-4 leveling amplifier has always lived in the shadows of it's older siblings, the LA-2A and LA-3A. Despite possessing the distinctive, musical compression character its family is known for, the LA-4 was compromised by the muddy sound of early chip technology.
With the OLA5, we've painstakingly recreated the LA-4's leveling behavior—including cloning the original opto cell after finding that no modern substitute would do—but that's where the resemblance to the LA-4 ends. The OLA5's signal path is completely overhauled and upgraded. And the workflow hews closer to the LA-2A and LA-3A, while adding new features like a sidechain high-pass filter and parallel MIX control.
Modern Clarity or Vintage Tone. Choose between a clean and modern or vintage and colored output stage. If both outputs are installed, you can switch between them with a solderless jumper on the board.
The Modern (stock) output is a clean, robust, balanced output for excellent noise performance. Choose this output to use the OLA5 for transparent, natural leveling. This option does not come with an output transformer or DOA (discrete opamp).
The optional Vintage output employs an API-style DOA and custom transformer for a livelier dynamic character. The vintage output gives signals a more visceral, forward feeling that helps them translate clearly in a mix while requiring less level to do so.
A Challenging, Rewarding Build. The OLA5 is a complex kit with over 150 parts. We recommend it for intermediate-to-advanced builders. Like all DIYRE kits, the OLA5 comes with detailed, step-by-step directions and email support.
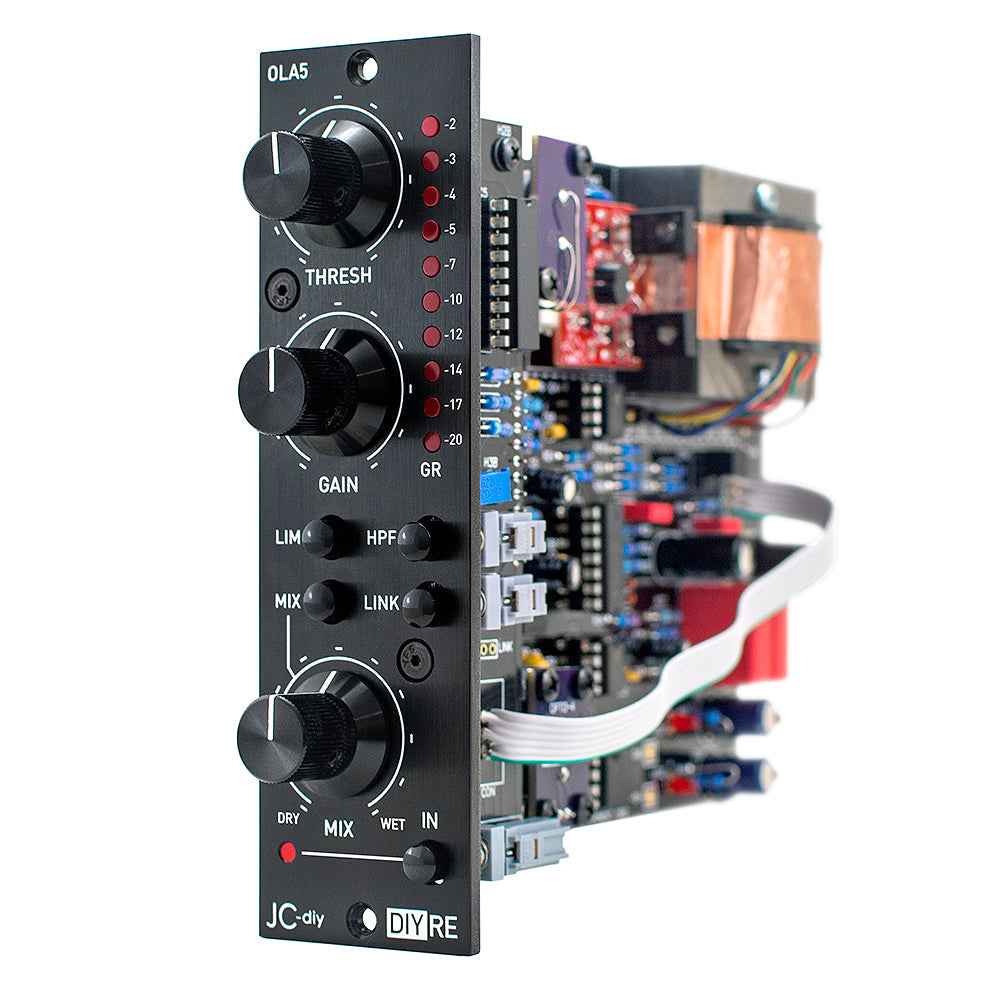
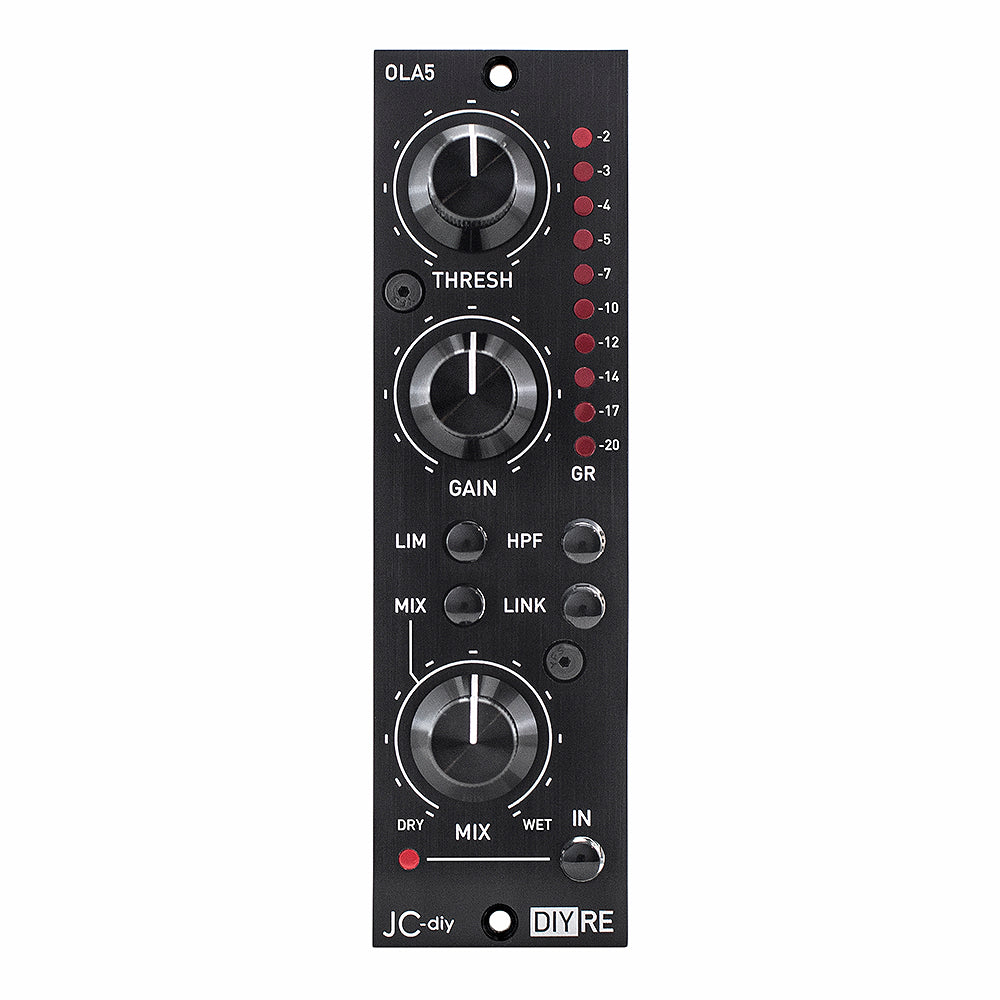
Features
- Stepped controls (21 positions) for easy recall and stereo operation
- Anodized aluminum knobs and front panel
- Unique, custom opto assembly that replicates the original
- 10-LED gain reduction meter
- Switchable wet/dry MIX knob
- Pushbutton select switches:
- LIM switches between compress (2:1) and limit (selectable) modes
- HPF filters low-frequencies out of the sidechain (150Hz)
- MIX engages the wet/dry mix control
- LINK enables stereo linking (But we do not recommend the OLA5 as a bus compressor. See the FAQ tab for more info.)
- IN engages the compressor
- Optional vintage DOA/transformer output section
- Kit includes every component required to build the OLA5
- Step-by-step manual and guaranteed support
- Fully compatible with the 500-series format
- Horizontal front panels available separately
What the Pros are Saying

"To stay it sounds good is to greatly underestimate how well it does it’s job. While it does sound fantastic what I love the most is how consistent the compression is. One of them has been my main bass compressor on every mix (getting close to 50 now!) I’ve done since I built them and I am almost able to forget about the bass once I lock it in with the OLA5. It is both smooth and controlling at the same time. Up until the OLA5 I had a Revive modded WA76 that was my main bass comp but it hasn’t seen a bass single since I powered up the OLA5. What it does for an acoustic guitar or clean to slightly overdriven electric guitars is wonderful as well. Either as a transparent controller or smacking it hard for some character too. I say I lean more towards the vintage output for bass and modern for guitars but honestly either way it just works."
-Charlie Waymire
Ultimate Studios, Inc.

"We patched up some very nice compressors (a Shadow Hills Mastering Compressor, a vintage Universal Audio LA-2A, and an LA-3A) and ran lots of sources through all four compressors. Vocals, bass, drums, room mics... this kit totally held its own. The compression itself sounded great – a slightly slower attack than some of the other comps, which served it well on sources like bass guitar – and the audio sounded good too... I'm buying my review unit and adding the "vintage" option."
-Scott Evans
TapeOp Magazine #130
Our FAQ is so thorough it needs it's own table of contents!
- What does it mean that the OLA5 is an ‘optical’ processor?
- What makes optical leveling so musical?
- Does the OLA5 sound like the LA-4’s I have used in the past?
- What is a ‘leveling amplifier’?
- Do I have a choice of ratios?
- What's the difference between the Modern and Vintage outputs?
- What is the HPF switch for?
- Can I link two units for stereo?
- Why do I get greater overall reduction in compress mode than in limit mode?
- The OLA5’s gain reduction meter is much faster than I would have thought with a vintage-based unit like this. Is this normal?
- How good is stereo matching between units?
- Can I buy a prebuilt unit instead of the kit?
1. What does it mean that the OLA5 is an ‘optical’ processor?
A: Optical limiters use a passive component called a ‘light dependent resistor’ (LDR) as their gain reduction element. The LDR is placed next to a light source driven by the level of the incoming signal. The louder the input signal, the brighter the light source, and the less resistance in the LDR. As the LDR, which sits between the audio signal and the ground plane, drops its resistance it dumps more signal to ground, reducing the output level. This is the basic functionality of optical dynamics processors.
Being passive in nature (and given the unique time-constants behavior of LDRs) the result is a remarkably useful compressor/leveler for broad tracking and mixing duties.
2. What makes optical leveling so musical?
Light dependent resistors have a memory, so to speak. The longer they are exposed to light, the longer they will hold their lower resistance. When released from this exposure LDRs will quickly regain much of its resistance, but then slows as its resistance gets closer to full ‘dark’ value. As a result, the release time of optical limiters is non-linear in a way that is pleasing to the human ear. It is largely for this reason the classic LA-type leveling amps have earned their beloved, classic status.
3. Does the OLA5 sound like the LA-4’s I have used in the past?
No, while the OLA5 replicates the compression character of the LA-4 exactly, it has a different signal path and therefore a different sound. The OLA5 uses a more modern signal path than the LA-4 that is clearer, smoother, and more detailed. The optional vintage output gives the OLA5 a thicker, weightier, sound that's closer to the LA-4 (which also has a transformer-balanced output), but still more detailed with more "silk" rather than "grit." It sounds lovely, and we’re confident you will prefer the sonics of the OLA5 to an LA-4.
4. What is a ‘leveling amplifier’? I thought the LA-2A/3A/4 were compressors?
"Leveling amplifier” is a name used to describe many early compressors that were intended for broad, subtle leveling of dynamic program material. The beauty of the classic LA-type leveling amplifiers (of which the OLA5 is one) is their broadly musical touch and functional simplicity (just reduction and gain makeup knobs), making it easy to get great results without much fiddling. The OLA5 is very forgiving and sounds great with broad variety of source material (though it absolutely rules on vocals, acoustic and bass guitars).
5. Do I have a choice of ratios?
Absolutely! The OLA5, like the classic LA-2A and LA-3A, provides a choice of either compress or limit functionality, selected via the LIMT button. With this button ‘out’ the unit is in compress mode (which is identical to the LA-4’s 2:1 ratio, complete with its lower threshold). This mode is perfect for general leveling of all kinds of material. Engage the LIMIT switch, and the ratio switches to either 4:1 or 12:1 (user programmable via a jumper on the motherboard) with a higher threshold setting. LIMIT mode excels at heavier processing duties where users prefer to… well… limit the dynamic range of a signal in a more heavy handed way.
6. What's the difference between the Modern and Vintage outputs?
Like our popular EQP5 passive equalizer kit, the OLA5 comes stock with a modern, IC-based output that provides clean, transparent sonics. The optional vintage output includes a discrete opamp, a large, custom, steel-core, tri-filar wound output transformer, and a NOS tantalum capacitor that all together impart a thicker, silkier, and fuller tonality. This output, first offered with the EQP5, is based on the output stage of the original solid state Pultec equalizers from the 1970s, and provides a wonderfully sweet, vintage heft to your signals.
Those who opt for the vintage output still have access to use the modern output as well, selectable via jumpers on the motherboard, so you can have the best of both worlds.
7. What is the HPF switch for?
The HPF (hi-pass filter) switch engages a filter into the sidechain of the OLA5 (the signal that drives the gain reduction portion of the device) that reduces the low frequency content. This filter is NOT a part of the signal path, so you don’t hear it directly. However, by reducing the low frequency content of the sidechain signal, strong low frequencies OLA5 won’t trigger the compressor as hard. The result is bigger, fuller tracks that sound authoritative and natural even while having their dynamic range reduced. This is particularly useful for bass guitar and full program material.
8. Can I link two units for stereo?
Yes! The OLA5 allows two units to be connected for stereo use via one of two available methods. The vast majority of current 500-series racks have built-in stereo linking. However, if you have an older rack, no worries. The OLA5 circuit boards have pads for connecting two units without the built-in stereo link feature. When you want stereo processing, set both units to the same ratio (compress or limit) and press the LINK switch on both units.
Pressing both link switches mixes the sidechain signals from both units and then sends that shared signal to both units. Please note that both units need to be set to the same ratio if you want matched processing, otherwise the shared side chain signal will be driving different ratios on each unit, resulting in a bizarre (thought potentially creative!) stereo image.
9. Why do I get greater overall reduction in compress mode than in limit mode? Shouldn’t the higher ratio of the limit mode result in greater reduction?
The OLA5, like the LA-4, automatically drops the threshold in COMP (2:1) mode. So while the processing is more subtle, the lower threshold means more of the signal is being processed. So even with a subtler ratio the overall reduction of the signal can be greater than the LIMIT mode.
10. The OLA5’s gain reduction meter is much faster than I would have thought with a vintage-based unit like this. Is this normal?
Yes! The OLA5 uses a modern bar meter driver that shows peak reduction, not just RMS (average) reduction the way an analogue VU meter does. The VU meter of the LA-4 (and LA-2A, LA-3A, 1176, and every other device so equipped) isn’t fast enough to show the actual peak reduction taking place in the opto cells, so watching VU meters can leave one feeling that the attack is slow, but in truth the onset of reduction is surprisingly quick in these units. The OLA5, with its modern metering, reveals the peak reduction missed by the metering of older units. In truth, these units are best set by ear anyway, though seeing the onset of leveling can be a very helpful tool for finer tweaking.
11. How good is stereo matching between units?
While it does have a LINK switch, the OLA5 is not meant to be a precise stereo compressor. Because of the somewhat chaotic nature of the opto cells, the matching between any two given units is just never going to be very precise. (This is the same reason you don't see stereo pairs of the LA-4.( So, while using two OLA5s on a bus can yield some cool, interesting results, don't expect accuracy between channels. If you're looking for a precise bus compressor, look elsewhere.
12. I don’t trust my soldering skills. Can I buy a prebuilt unit instead of the kit?
Yes, you can! Please see product page for pricing.